Release Notes 8.01.24

This month was a big one at Swag Space.
We've been working with our members to build new platform features that drastically improve the ability to manage orders, delegate responsibilities, and ultimately make more sales.
Here's what's new in August at Swag Space!
New features:
Intercom Chat Support
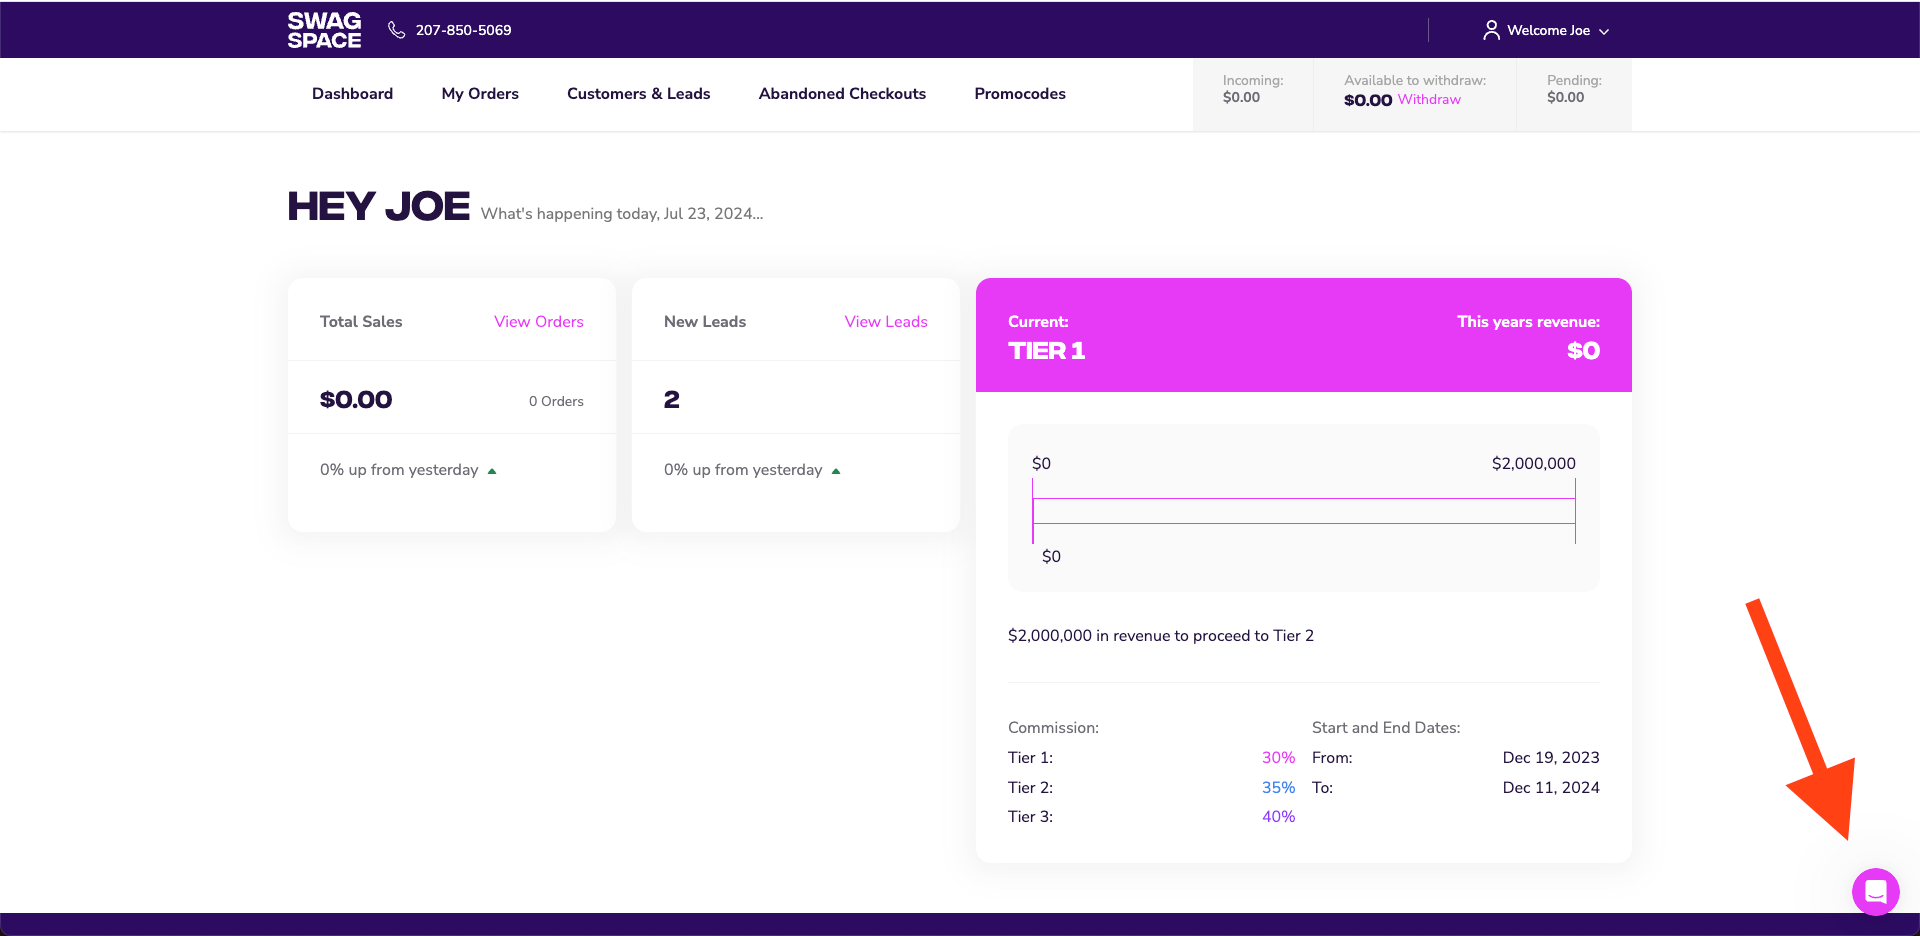
Swag Space now has a live chat feature using Intercom. Our team is available to answer questions and provide immediate support during normal business hours:
Weekdays 9am - 6pm Eastern Time (US & Canada)
Members can access the Intercom chat when logged into their account. When looking at the user dashboard, chat into our team by clicking the chat bubble icon in the lower right side of the screen:
Permissions Settings & Order Assignment for Multiple Users
Members can now create different permission settings for different users under their account. This feature was designed to help members create accounts tailored for different roles within their organization: ex. sales teams, administrators, marketing teams etc.
To access permissions settings for team members, click into the 'Company Settings' tab, then click into the 'Users & Permissions' section:

From here, members have access to a long list of permissions settings which can be changed for each individual team member registered under their account:
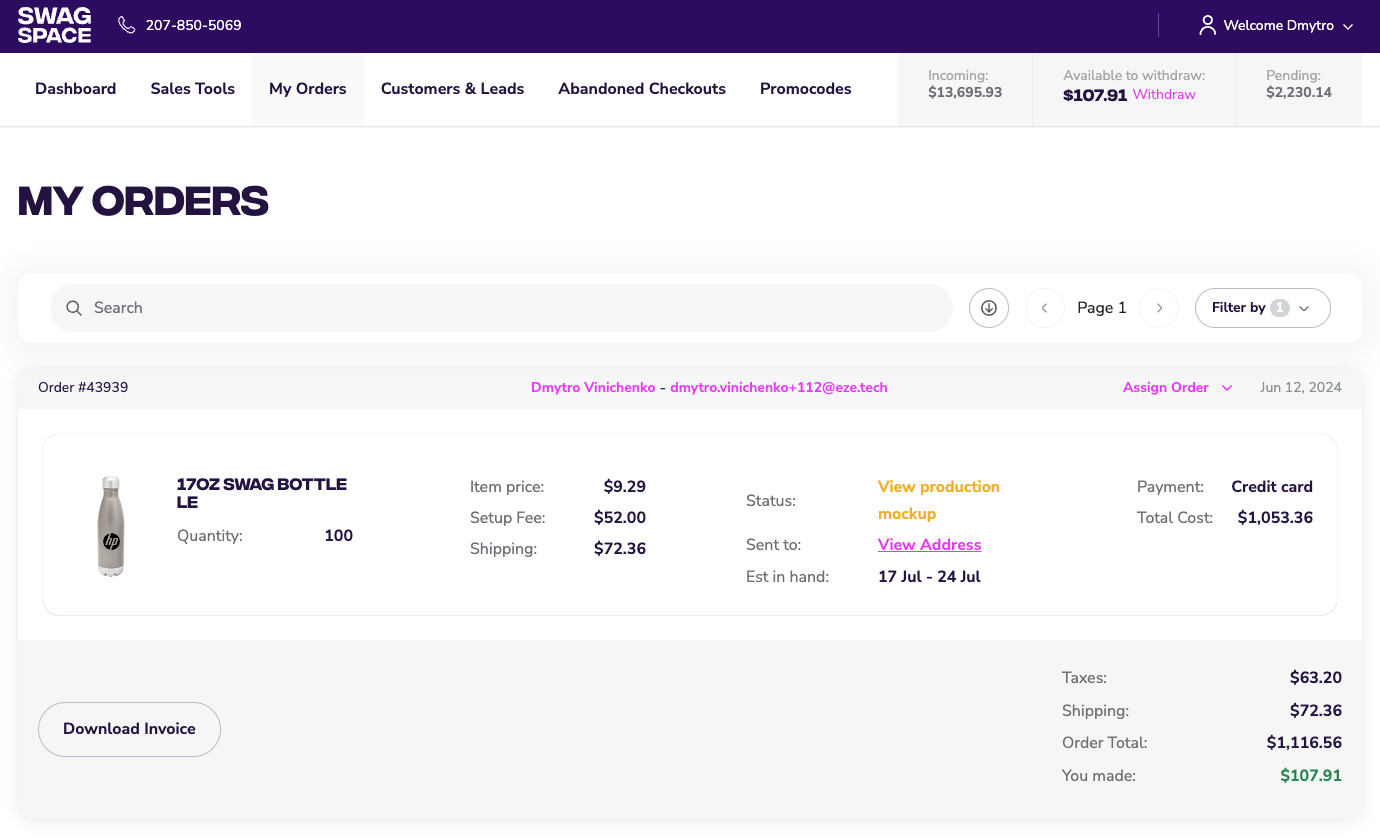
Additionally, members can now assign individual orders to different users. This is helpful for distributing work between team members who may be working with individual clients. Users can also be assigned Customers, Invoices, PDF Presentations, Carts, and Leads.
To enable the assignment flow, members will need to change their settings, which by default leave this flow off. To change this, navigate to the dashboard settings section and click on 'Company & Brand Settings.' There will be a section to toggle order assignment directly under the reseller certificate section:
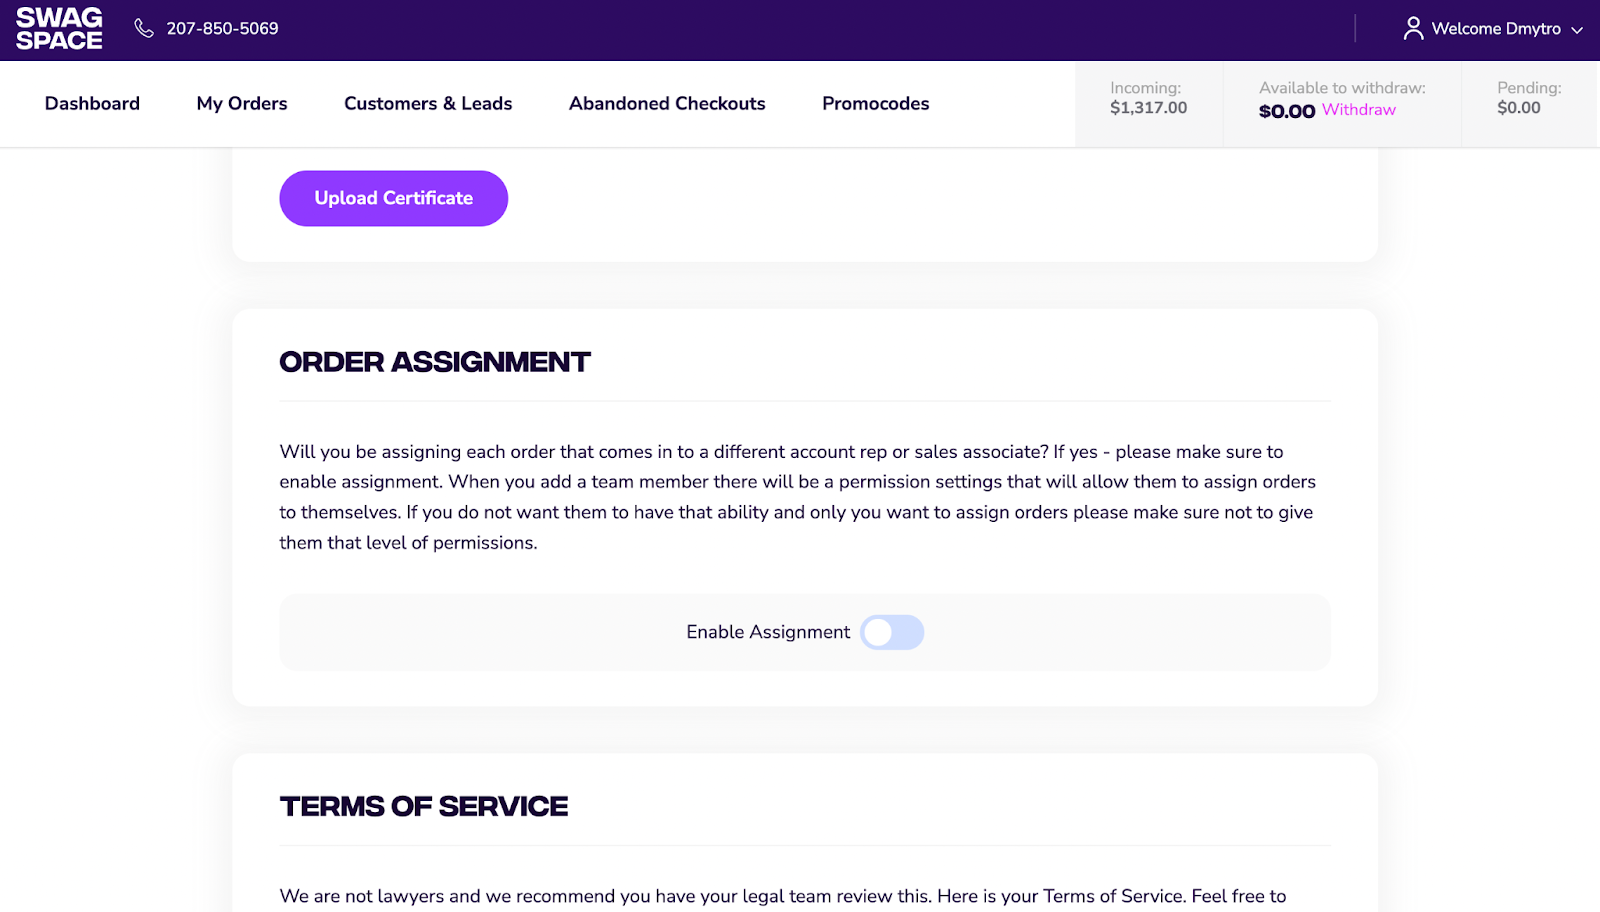
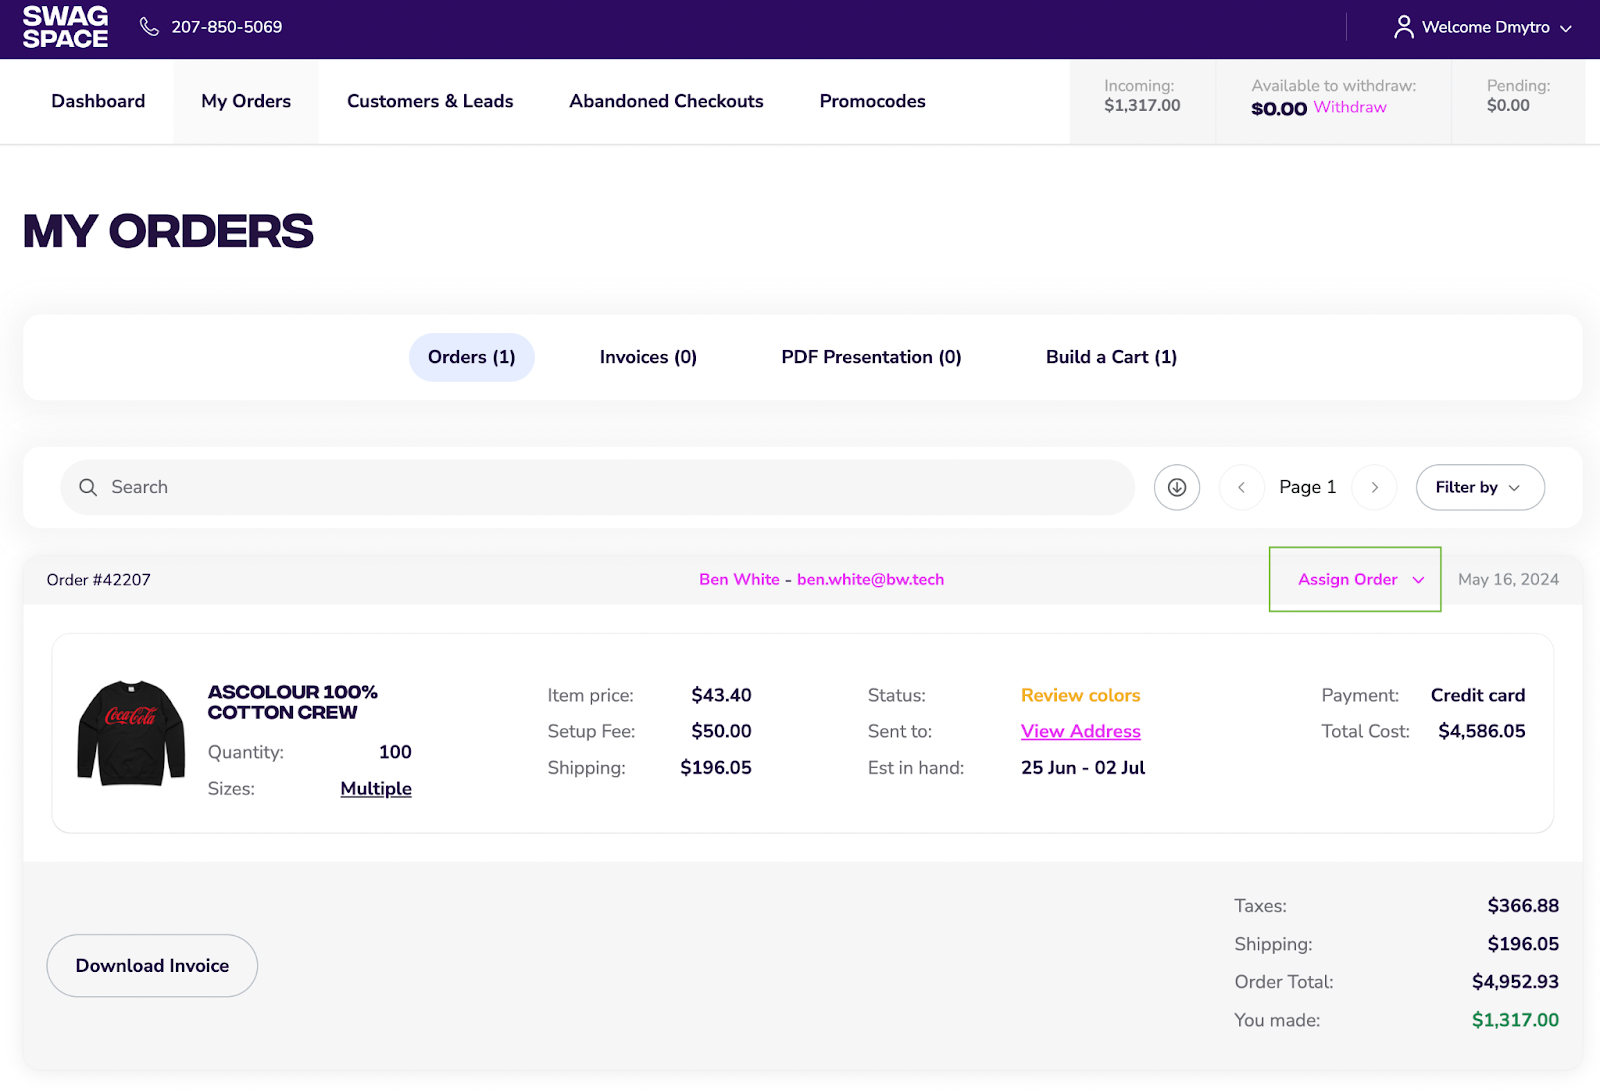
Toggling this setting will allow store owners and anyone with permissions settings for 'Enable Assignment' enabled to assign elements to different users. Members can do so by clicking the 'Assign Order' button that appears along with each individual order listed in the 'My Orders' tab:
Edit Default Product Filters
Members now have control over the default settings that dictate how products are displayed in their store. Users requested this change as a way to differentiate their store from others, as well as reach specific audiences who might have an appetite for one product type over another.
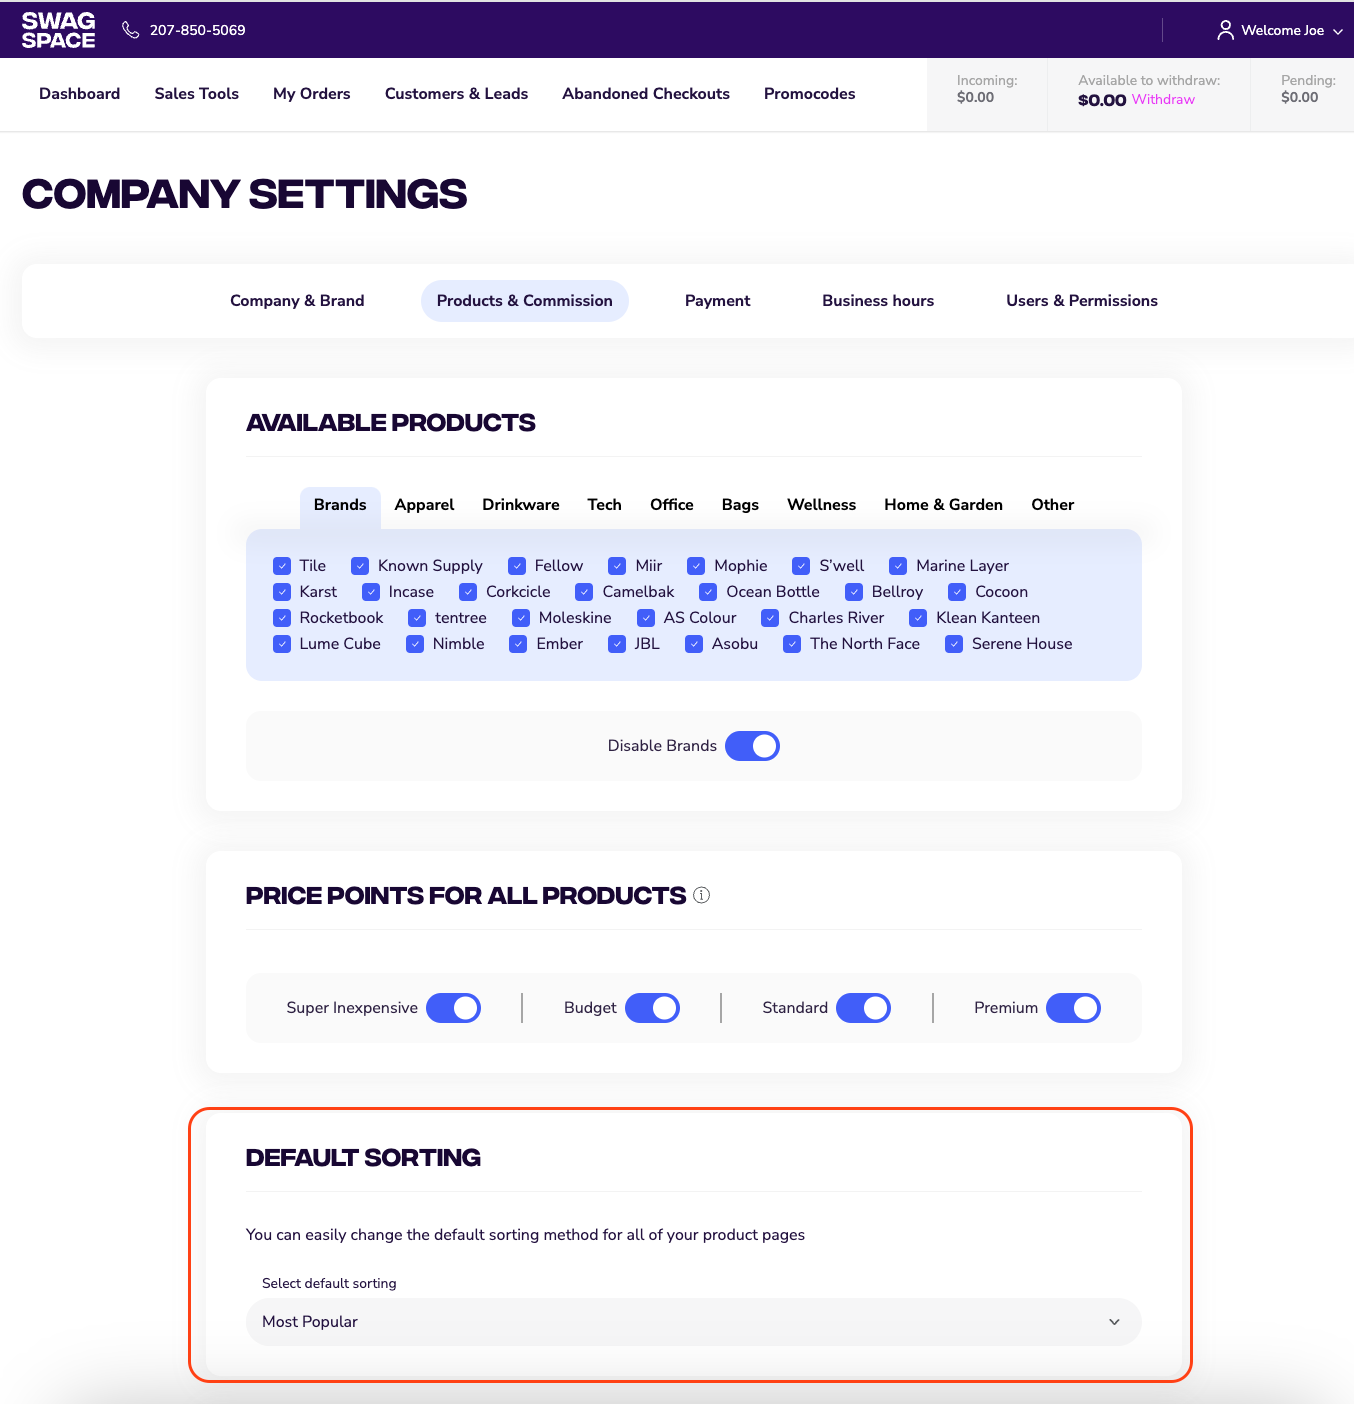
To edit the default filters used to display products, navigate to the 'Products & Commission' tab under 'Company Settings.' This page offers a block labeled 'Default Sorting' which can be edited according to member preference:
Sales Tool Tab
We've created a new tab in the member dashboard called Sales Tools. This page contains the 'Invoices', 'PDF Presentation', and 'Build a Cart' tabs– all of which were moved from the 'My Orders' tab.
Access the Sales Tool page by clicking it from the top menu on the dashboard:

The 'My Orders' tab now only displays orders, without any additional tabs:
Toggle Pantone / Mockup Approvals
Members can now toggle on or off the need to have their customers approve mockups and Pantone selections before orders move into production. This can drastically speed up the order process, and help members deliver more of a white glove experience to their customers.
By default, members approve Pantones and mockups which are then sent to customers for approval before going into production. Now, members have the ability to override this default, thereby allowing orders to go straight into production when they approve selections without the need for customers to approve.
To toggle this setting on or off, navigate to the 'Company Settings' tab, and click into 'Product & Commissions' page. Here, there is a block where members can choose their preferred approval flow:

Note that members can change this flow on a per customer basis if needed– for example, in the case that a single customer wants to approve every decision. Clicking on an individual customer profile will give you the ability to edit this:

Commission Calculator
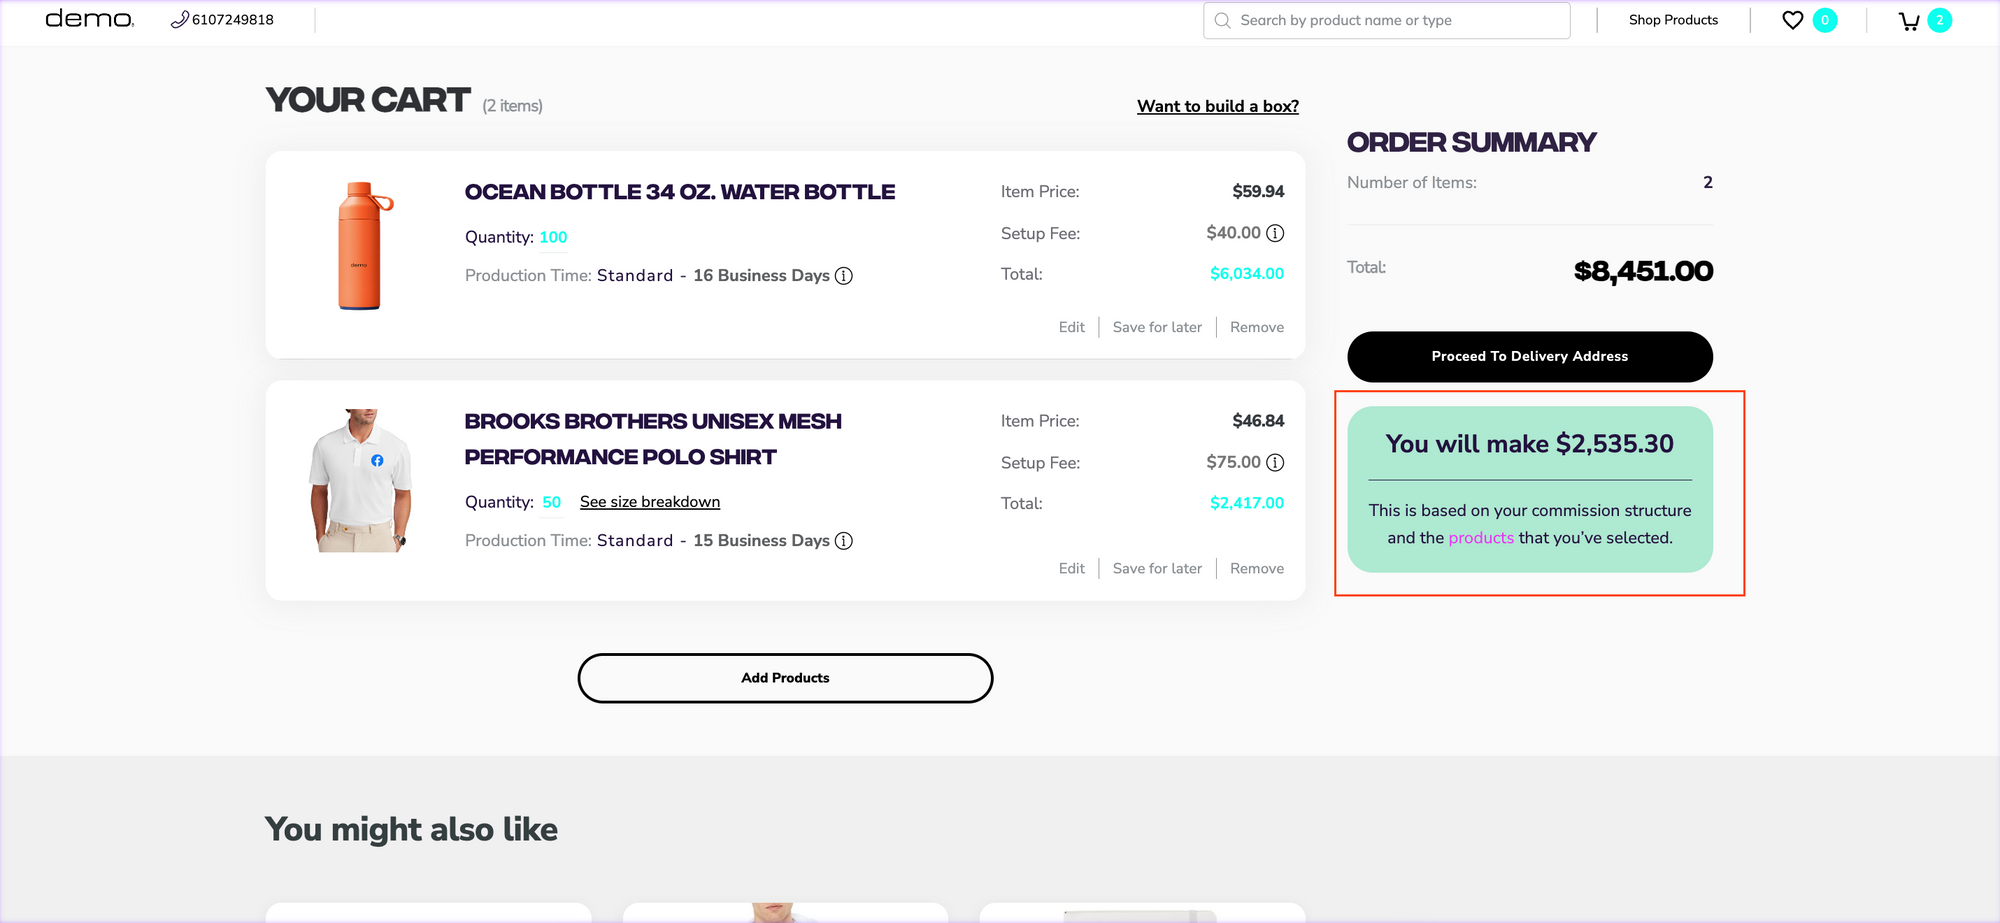
Members will now see a commission calculator tool when they build a cart or PDF. This tool displays a cost breakdown according to the current product type and amount.
These numbers will change in real-time based on the contents of the cart, as well as the selected commission.
Small tweaks:
Custom Credit Card Statements
Orders placed through a member's site will now register with a custom credit card statement description that matches the store name. The name that is used in company settings is what will appear in the statement.
For example, if the store name is 'Hermes' the credit card statement would look like this:

Social Media & Phone Number Added to Header
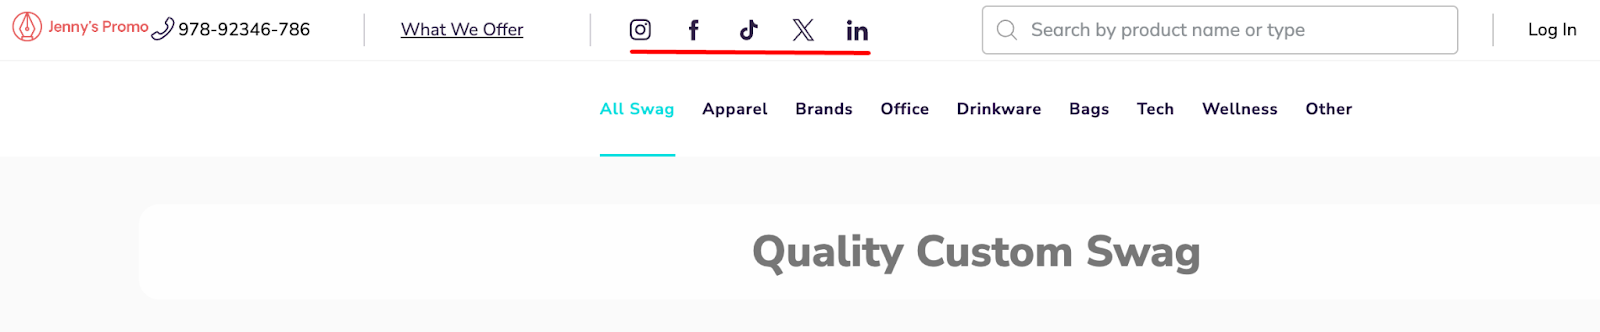
Social media links and company phone numbers zfor members are now displayed in the header of their site. These can be edited at any time from the 'Company Settings' page.
Scale Company Logo
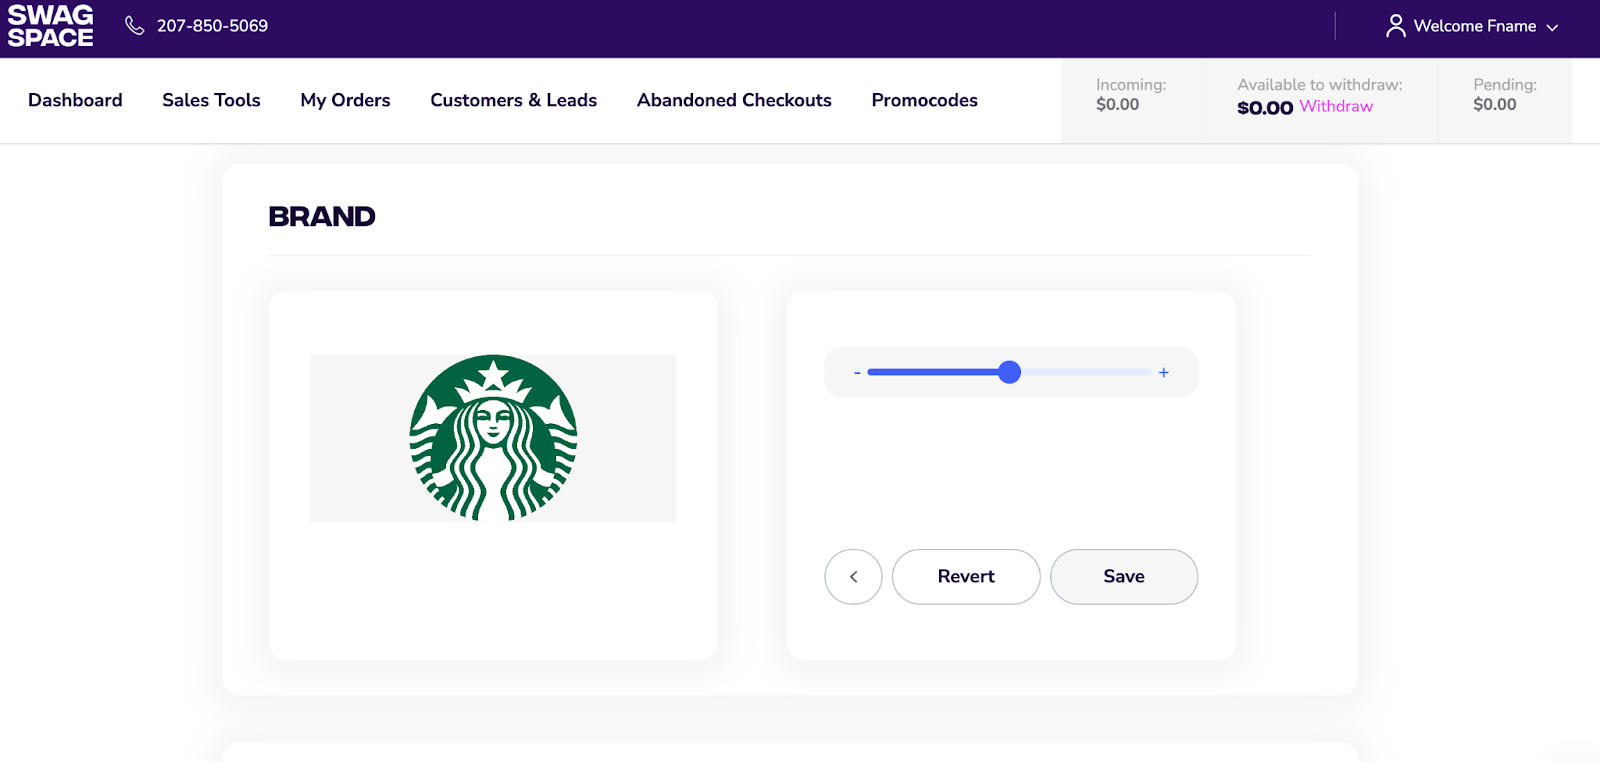
Members can now easily scale their company logo which displays on the site. Edits can be made using the 'Edit Logo' button that appears on the 'Brand' section of the dashboard.
Tax Exempt Status
Members can now categorize customers as tax exempt, meaning these customers will not be charged sales tax.
To establish a customer as tax exempt, navigate to their customer page and select the 'Tax' section to choose an option:

Selecting "Tax Exempt" feature will trigger a popup to appear. Enter tax exempt documentation from your files:

Entering this info will put the application into review, during which time you cannot select "Tax Exempt". Members will recieve an email letting them know if the tax exemption is rejected or accepted.
Want some help implementing new features?
If you have any questions, comments or concerns about these new features, please do not hesitate to reach out. We are ready to assist with implementing any of these new features– you can get in touch with your account manager via email, using our new Intercom chat feature (located in the member dashboard), or use the form below.